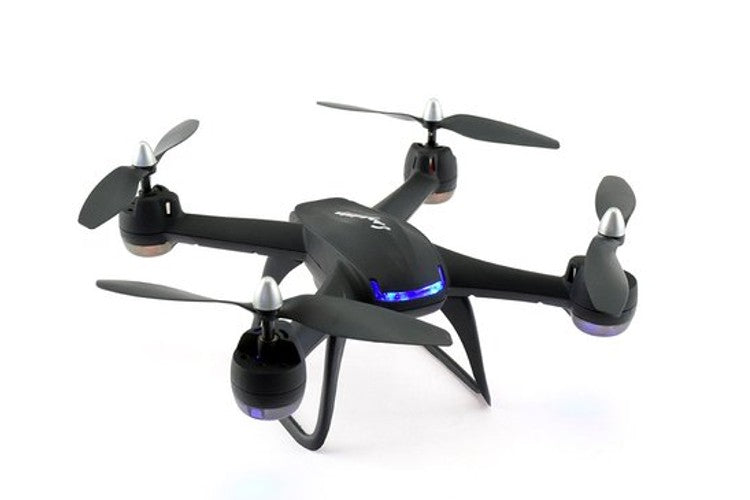
Drones, also known as quadcopters, are becoming increasingly popular for recreational use. They are fun to fly and can capture stunning aerial footage. But buying a pre-made drone can be expensive. Instead, why not build your own? Making your own drone is a great way to learn about electronics and engineering, and it's also a fun project to undertake. In this article, we'll guide you through the process of building your own quadcopter drone.
Step 1: Choose a Frame
The first step in building a quadcopter drone is to choose a frame. The frame is the skeleton of the drone, and it holds all the other components together. Frames come in various shapes and sizes, so it's important to choose one that is compatible with the other components you plan to use. Some popular frame materials include carbon fiber, aluminum, and plastic.
Step 2: Select the Motors and Propellers
The next step is to select the motors and propellers. These components are responsible for lifting the drone off the ground and keeping it in the air. You'll need four motors and propellers, one for each corner of the frame. The size of the motors and propellers will depend on the weight of your drone, so it's important to choose ones that are suitable for the frame you've chosen.
Step 3: Choose a Flight Controller
The flight controller is the brain of the drone. It controls the motors and keeps the drone stable in the air. There are many flight controllers available on the market, and they come in various shapes and sizes. Some popular flight controllers include the Naze32, CC3D, and APM.
Step 4: Select a Radio Transmitter and Receiver
The radio transmitter and receiver are what allow you to control the drone. The transmitter is the handheld controller you use to fly the drone, and the receiver is what receives the signal from the transmitter and relays it to the flight controller. There are many radio transmitters and receivers available, and it's important to choose ones that are compatible with the flight controller you've chosen.
Step 5: Choose a Battery and Power Distribution System
The battery and power distribution system are what power the drone. You'll need a battery that is compatible with the motors and flight controller, and a power distribution system that can distribute power to all the components. Some popular battery types include LiPo and LiFePo, and some popular power distribution systems include PDB and BEC.
Step 6: Assemble the Components
Once you've selected all the components, it's time to assemble them. Start by attaching the motors and propellers to the frame. Then, attach the flight controller to the frame, and connect it to the motors and receiver. Next, attach the battery and power distribution system to the frame, and connect them to the flight controller.
Step 7: Configure the Flight Controller
Once you've assembled the components, it's time to configure the flight controller. This involves programming the flight controller to respond to the signals from the transmitter and keep the drone stable in the air. The configuration process will depend on the flight controller you've chosen, but there are many tutorials available online that can guide you through the process.
Step 8: Test and Fly
Once you've configured the flight controller, it's time to test and fly your drone. Start by testing the motors to make sure they're spinning in the correct direction. Then, perform a hover test to make sure the drone is stable in the air. Finally, take your drone outside and fly it! It's important to start with small flights and gradually increase the distance and altitude as you become more comfortable flying the drone.
Conclusion
Building your own quadcopter drone is a fun and rewarding project that can teach you a lot about electronics and engineering. By following the steps outlined in this guide, you'll be able to build your own drone and take to the skies in no time. Remember to always fly your drone safely and responsibly, and check local regulations before flying in public spaces. Happy building!

