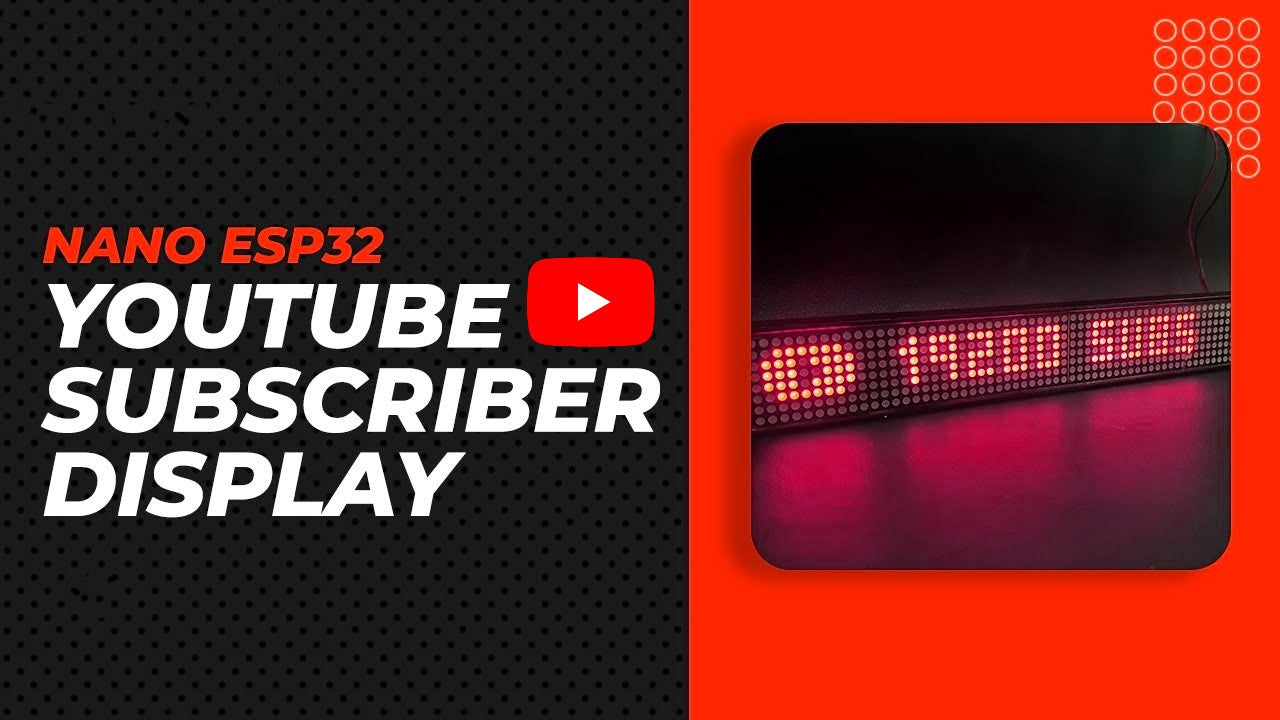
YouTube subscriber displays are a great way to show off your growing audience and encourage new subscribers to join your community. There are many different types of subscriber displays available, but if you're looking for a fun and challenging DIY project, you can build your own using an Arduino Nano ESP32 board.
In this blog post, we'll walk you through the steps on how to make your own Arduino Nano ESP32 YouTube subscriber display. We'll cover everything from gathering the necessary components to programming the board and assembling the display.
Components required:
- Arduino Nano ESP32 board
- MAX7219 dot matrix display module
- Jumper wires
- Breadboard (optional)
- Power supply (e.g., 9V battery)
Tools required:
- Soldering iron (optional)
- Screwdriver
- Wire strippers
Instructions:
-
Gather the necessary components. You can find all of the components you need online or at your local electronics store.
-
Assemble the circuit. If you're using a breadboard, connect the following pins on the Arduino Nano ESP32 board to the MAX7219 dot matrix display module:
-
Arduino Nano ESP32:
- D13 -> Data
- D11 -> Clock
- D10 -> Chip Select
-
MAX7219:
- Data In (DIN) -> Data
- Clock (CLK) -> Clock
- Load (LOAD) -> Chip Select
If you're soldering the circuit together, connect the following pins:
- Arduino Nano ESP32:
- D13 -> MAX7219 DIN
- D11 -> MAX7219 CLK
- D10 -> MAX7219 LOAD
-
-
Connect the power supply. Connect the positive terminal of the power supply to the VCC pin on the MAX7219 display module and the negative terminal to the GND pin.
-
Program the Arduino Nano ESP32 board. You can use the following code to create a simple YouTube subscriber display:
#include <SPI.h>
#include <Wire.h>
#include <MAX7219.h>

#define DATA_PIN 13
#define CLK_PIN 11
#define CS_PIN 10

MAX7219 display(DATA_PIN, CLK_PIN, CS_PIN, 1);

void setup() {
  display.init();
  display.clearDisplay();
}

void loop() {
  // Get the number of YouTube subscribers
  int subscribers = 100000; // Replace this with your own YouTube channel ID

  // Display the number of subscribers
  display.print(subscribers);
}
-
Upload the code to the Arduino Nano ESP32 board. You can use the Arduino IDE to upload the code to the board. Once the code has been uploaded, the display will show the number of subscribers on your YouTube channel.
-
Assemble the display. You can use a variety of materials to assemble the display, such as a 3D printed enclosure or a simple cardboard box. Be sure to leave enough room for the Arduino Nano ESP32 board and the MAX7219 display module.
Tips:
- If you're new to electronics, it's a good idea to start with a simple breadboard circuit. This will allow you to test the circuit before soldering it together.
- If you're soldering the circuit together, be sure to use heat shrink tubing to insulate the exposed wires.

