Welcome to the world of remote control! Have you ever dreamt of effortlessly commanding your devices from anywhere in the world? Well, get ready to turn that dream into reality with the Arduino MKR WiFi 1010 Web Server. This incredible technology allows you to remotely control your gadgets, appliances, and even robots with just a few lines of code. Say goodbye to mundane manual operations and say hello to convenience at your fingertips. In this blog post, we will delve into the fascinating realm of Arduino MKR WiFi 1010 Web Server and uncover how you can master the art of controlling devices remotely like never before. So buckle up and let's embark on this exciting journey together!
Introduction to Arduino MKR WiFi 1010
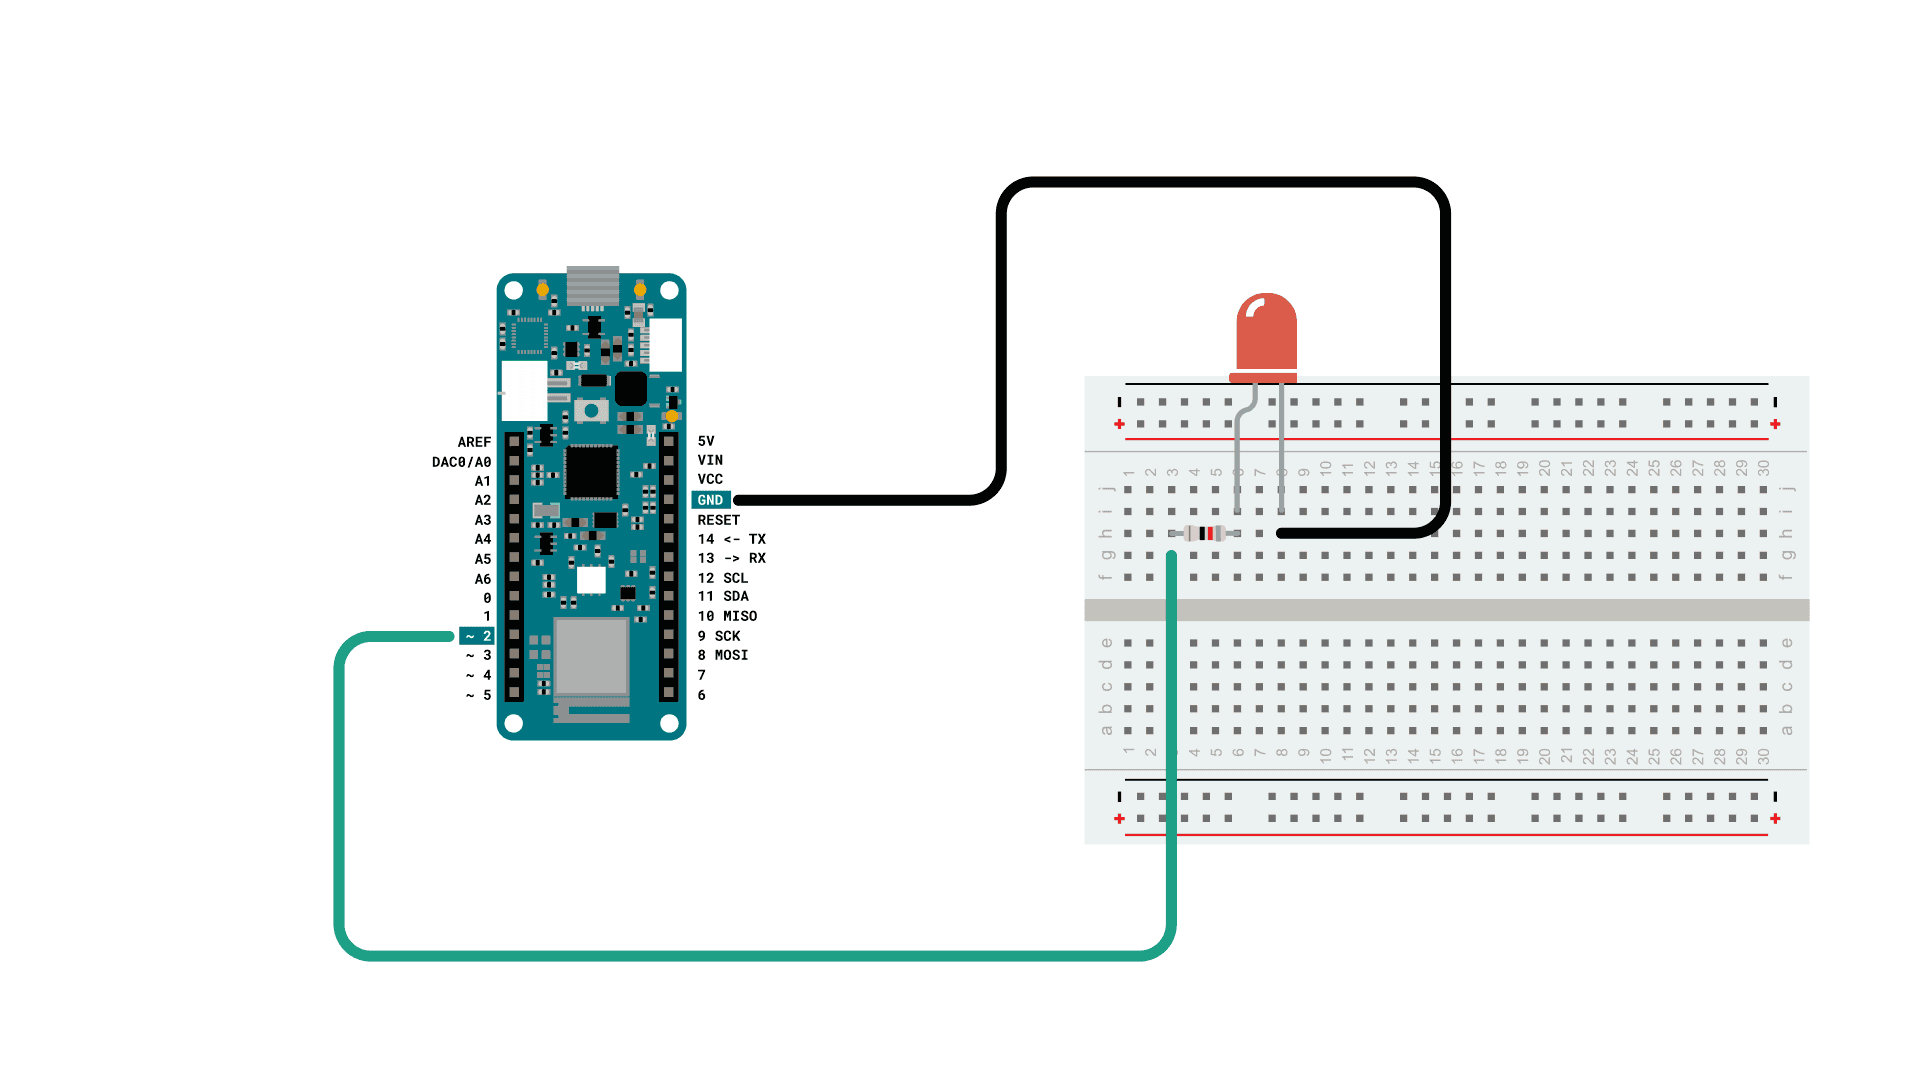
The Arduino MKR WiFi 1010 is a powerful microcontroller board that allows for easy and efficient control of devices remotely. It is an update to the previous MKR1000 model, with improved features and capabilities. This board is designed specifically for IoT (Internet of Things) projects, making it a popular choice among hobbyists and professionals alike.
One of the most notable features of the Arduino MKR WiFi 1010 is its built-in WiFi module. This allows for wireless connectivity, enabling users to remotely access and control their devices from anywhere with an internet connection. The board also has a low power consumption mode, making it ideal for battery-powered applications.
In addition to its WiFi capabilities, the MKR WiFi 1010 also has a powerful processor – the SAMD21 Cortex-M0+ – which operates at 48MHz. This allows for fast data processing and real-time communication with other devices.
Another advantage of using the Arduino MKR WiFi 1010 is its compact size and low cost. It measures only 67.64mm x 25mm, making it one of the smallest boards in the Arduino family. Despite its size, it packs impressive features that make it suitable for various projects without breaking the bank.
Furthermore, setting up and programming this board is relatively easy even for beginners. It can be programmed using either the Arduino IDE or through an online editor called Web Editor - both of which offer a user-friendly interface and extensive documentation.
What is a Web Server?
A web server is a computer or program that hosts websites and serves content to clients over the internet. It acts as the backbone for any website, allowing users to access web pages and interact with them. In simple terms, a web server is like a virtual storage unit that contains all the files and data necessary for a website to function.
The concept of a web server may seem daunting at first, but it is actually quite straightforward. When you type in a URL into your browser's address bar, you are essentially sending a request to the web server. The server then processes this request and sends back the relevant web page to your browser, which then displays it on your screen.
Web servers use HTTP (Hypertext Transfer Protocol) as their communication protocol. This allows for the transfer of data between clients (users) and servers over the internet. However, there are different types of web servers based on their functionality and features. One common type is an application/web server that runs programs and scripts written in various languages such as PHP or Python.
Setting up the Arduino MKR WiFi 1010 as a Web Server
Setting up the Arduino MKR WiFi 1010 as a Web Server is an essential step in controlling devices remotely using the Arduino MKR WiFi board. A web server allows you to create a website that can be accessed over the internet, and with the help of the WiFi connectivity on your board, you can control your connected devices from anywhere in the world.
To set up your Arduino MKR WiFi 1010 as a web server, follow these steps:
Step 1: Connect Your Board to Your Computer
The first step is to connect your Arduino MKR WiFi 1010 board to your computer using a USB cable. This will power up your board and allow it to communicate with your computer.
Step 2: Download and Install the Required Software
Next, you need to download and install two software programs - Arduino IDE and PuTTY. The Arduino IDE is used for programming the board while PuTTY is a terminal emulator that will help us communicate with our web server. You can download both of these software programs for free from their respective websites.
Step 3: Set Up Your Network Connection
Before we can start configuring our web server, we need to make sure that our network settings are correct. This includes setting up an IP address for our board and connecting it to our local network.
Controlling Devices Remotely using HTML and JavaScript
One of the most exciting features of the Arduino MKR WiFi board is its ability to control devices remotely using HTML and JavaScript. This allows users to operate their connected devices from anywhere in the world, as long as they have an internet connection.
To begin controlling devices remotely with this board, you will first need to set up a web server on your Arduino MKR WiFi. This can be easily done by following the instructions provided in the official Arduino documentation. Once your web server is up and running, you can start writing code in HTML and JavaScript to send commands to your connected devices.
HTML (Hypertext Markup Language) is used for creating web pages and providing structure and content to them. It allows users to create interactive elements such as buttons, text fields, and drop-down menus that can be accessed through a web browser. In our case, we will use HTML elements to control our devices remotely.
JavaScript is a programming language that runs on web browsers and lets you add dynamic effects or functionality to your web pages. With JavaScript, we can write code that sends instructions from our webpage via the internet to our Arduino MKR WiFi board.
Now let's take a look at how we can use these languages together to control devices remotely with the Arduino MKR WiFi board:
- Creating a User Interface:
The first step is designing a user interface (UI) for controlling our devices. This involves creating an HTML page with buttons or other input elements that represent various commands for our connected devices.