


Description
ZK-1002T 2.0CH Amplifier Module 100W+100W with AUX-IN, Bass, Treble & Volume Control
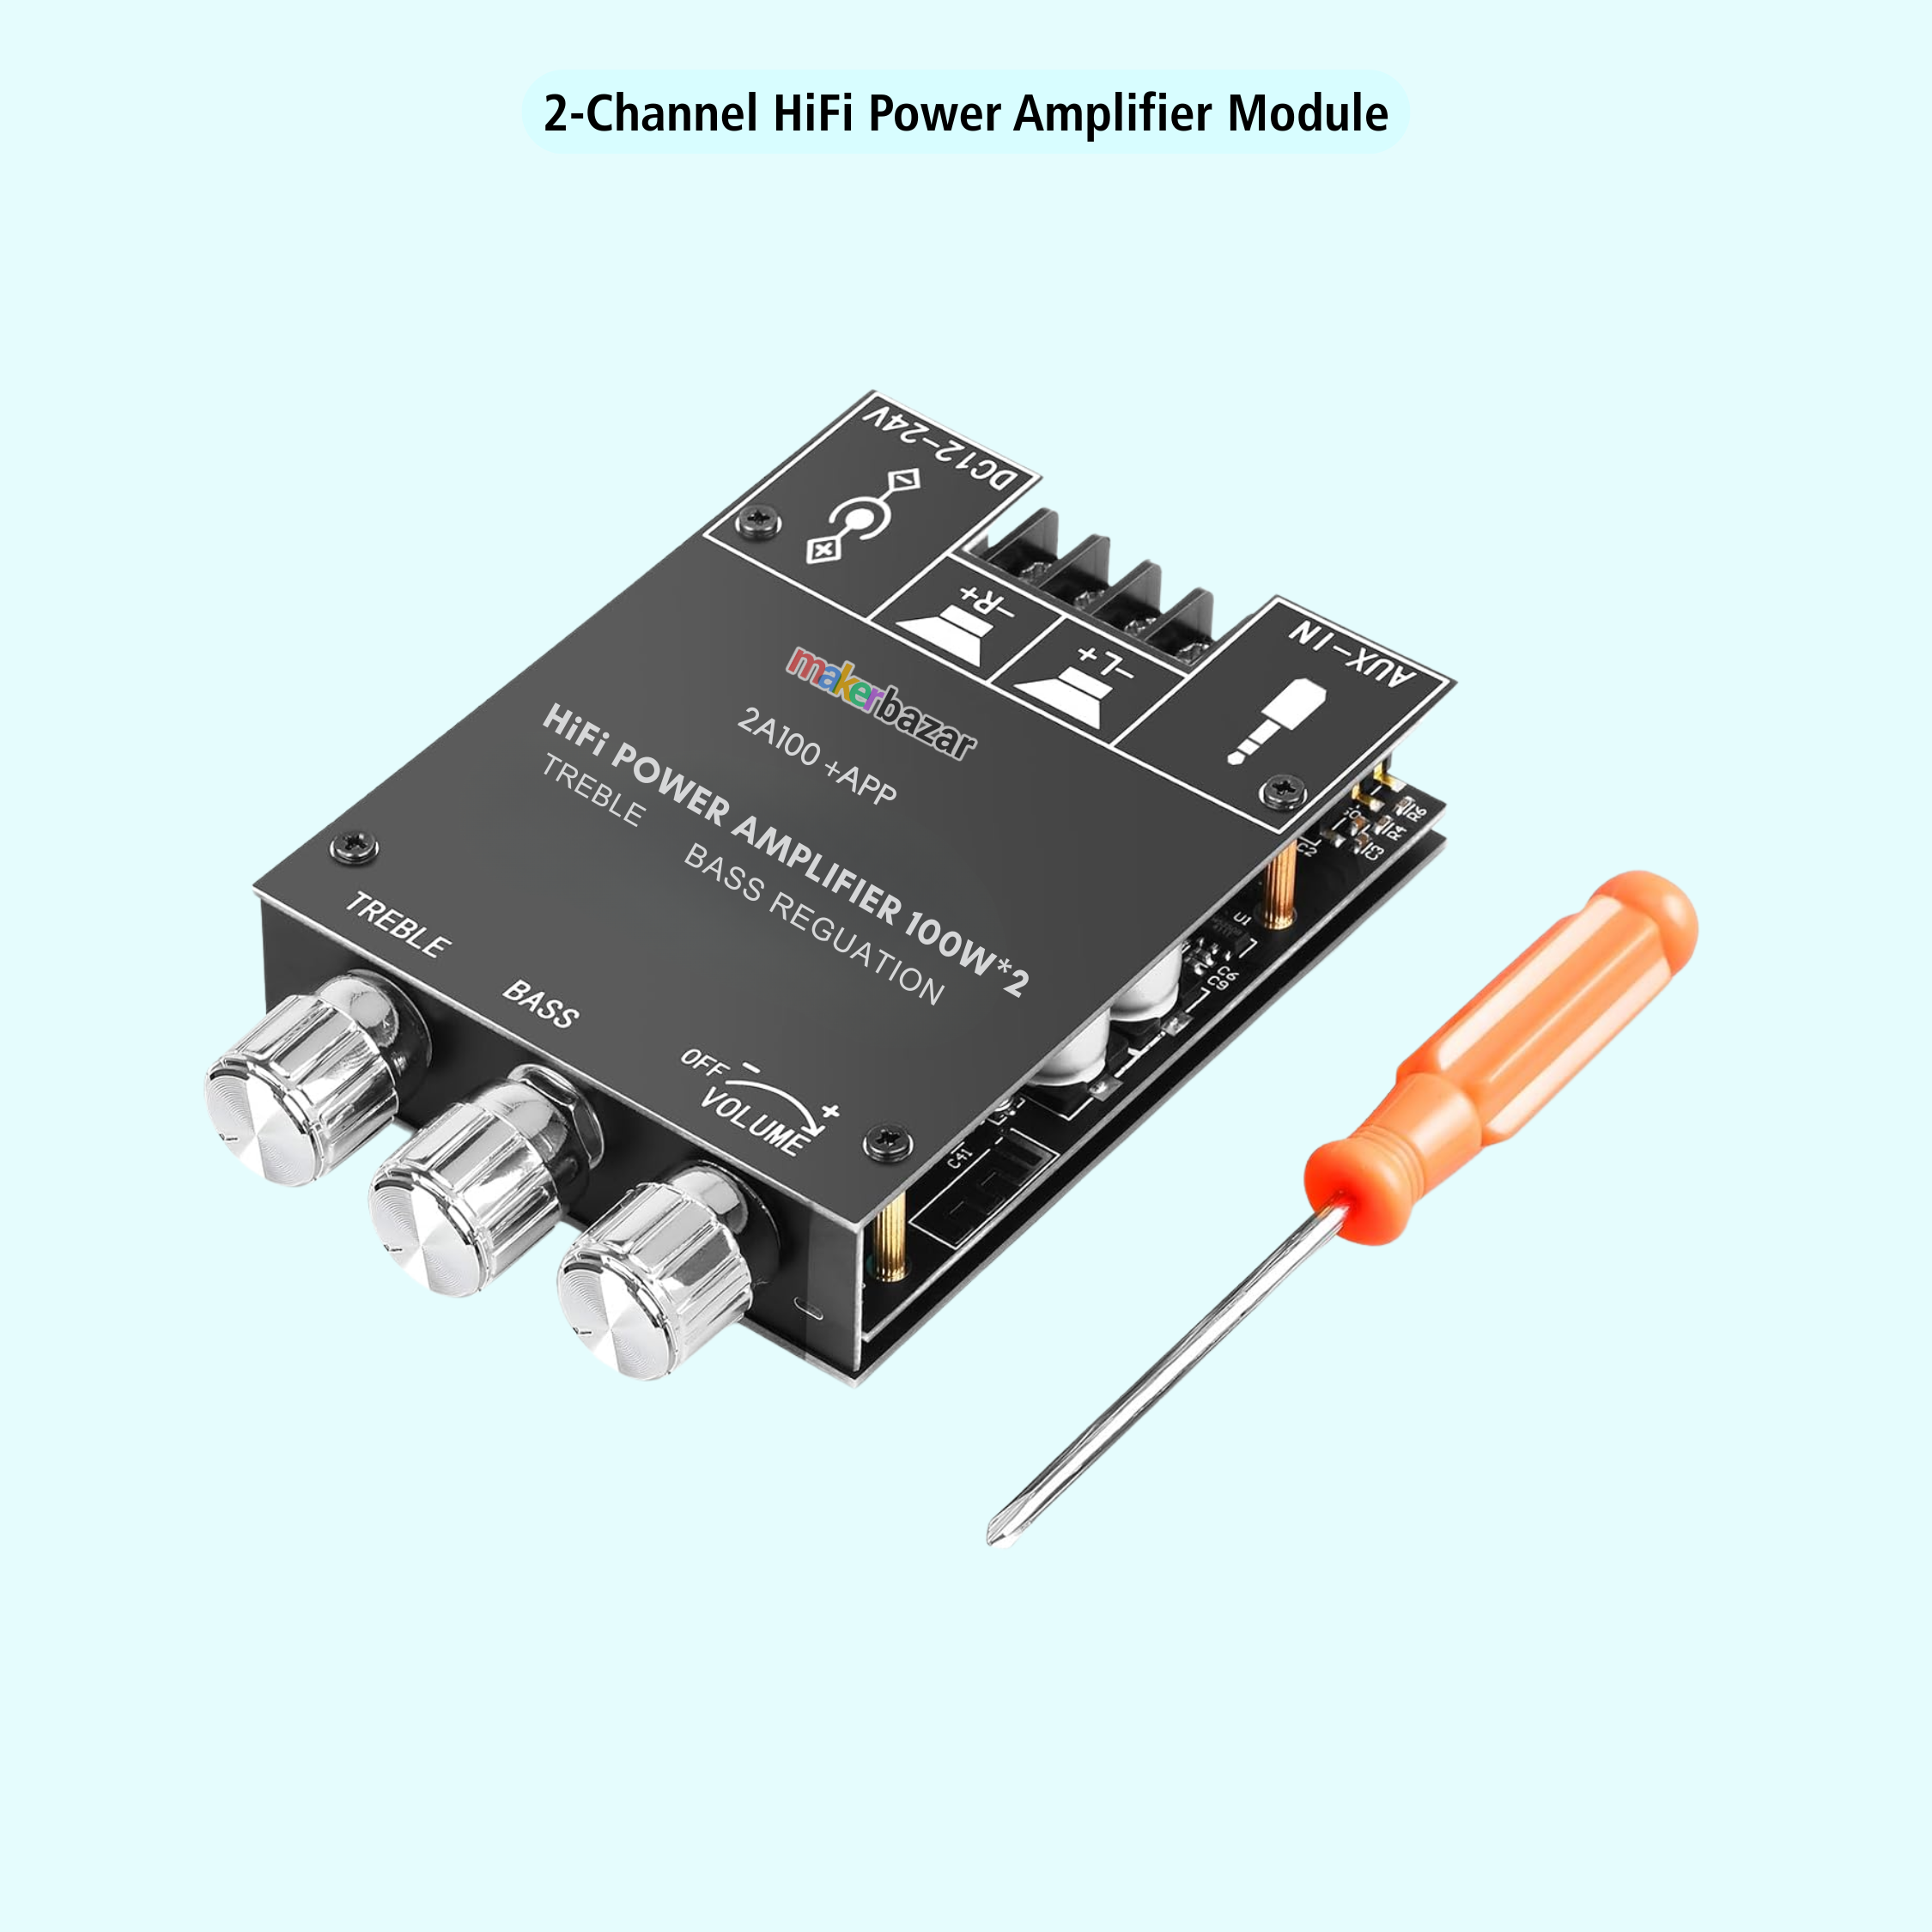
The 2A100 +APP HiFi Stereo Power Amplifier Module is a powerful 2-channel audio amplifier board designed for stereo speaker applications. The amplifier is marked 100W × 2 and operates from a 12V to 24V DC power supply, making it suitable for DIY audio systems, speaker upgrades, home audio projects, and custom amplifier builds.
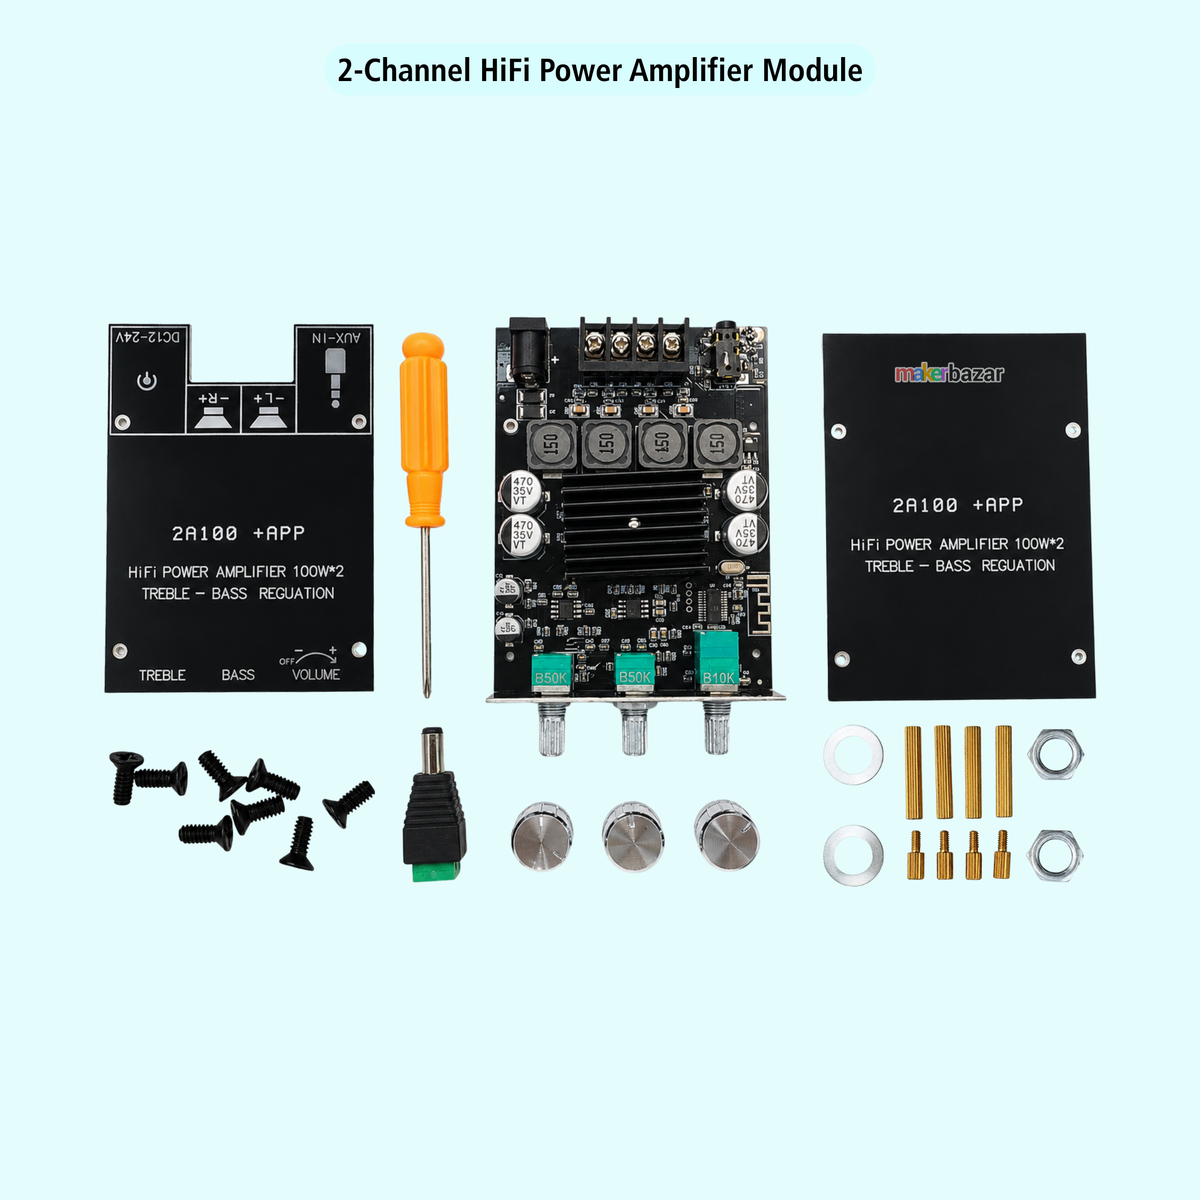
The module features AUX-IN audio input along with dedicated TREBLE, BASS, and VOLUME controls, allowing users to adjust the sound according to their preference. The volume control also incorporates an OFF position for convenient power control.
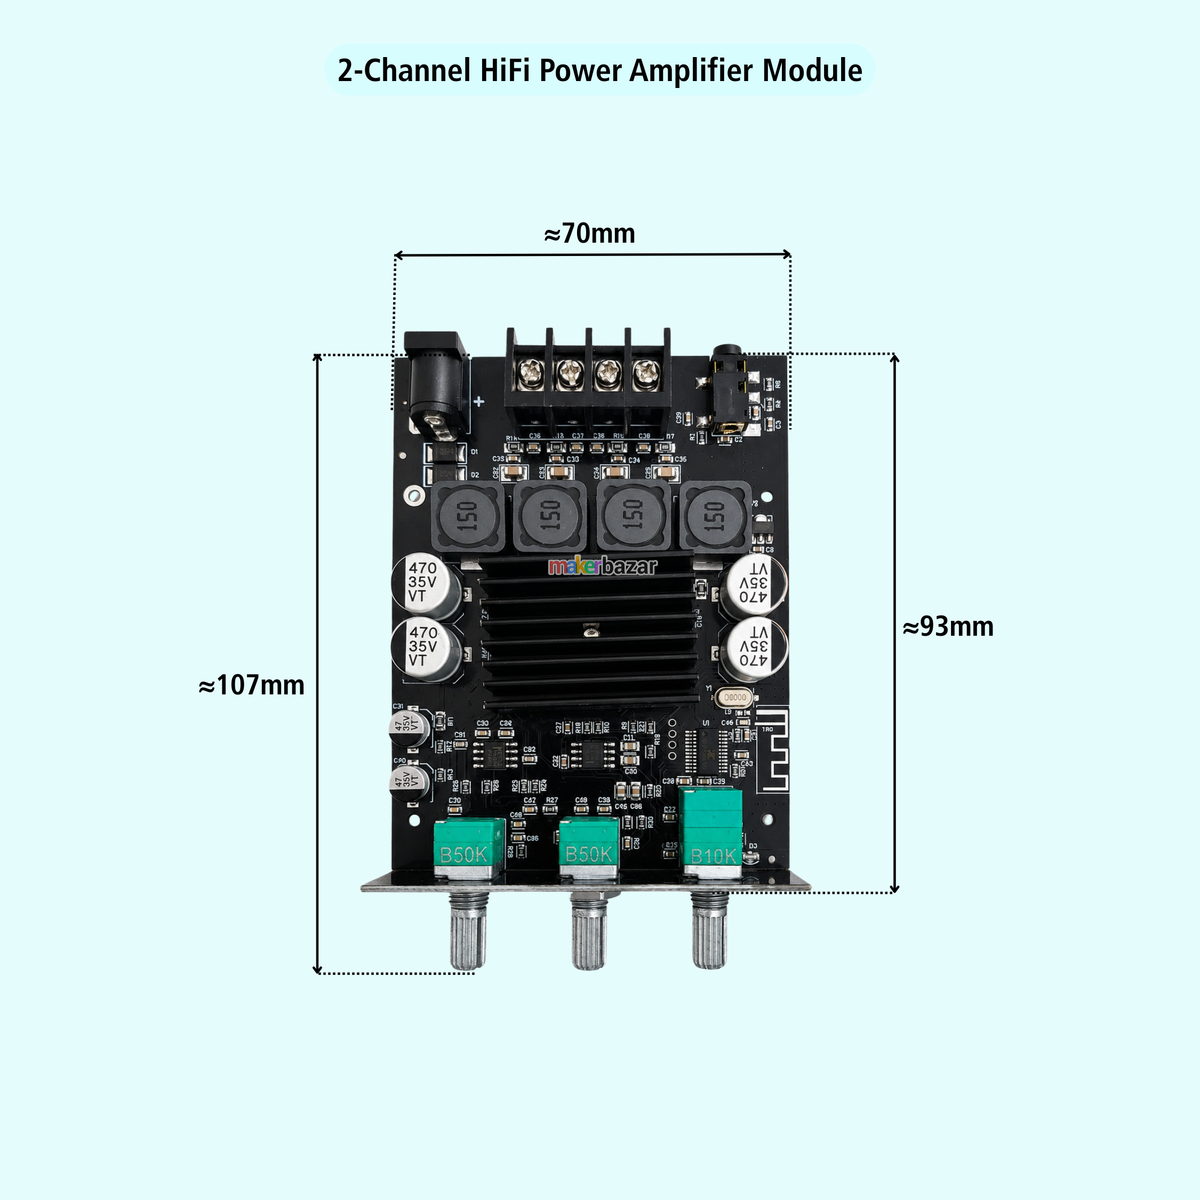
The board provides separate Left and Right speaker outputs through clearly marked L+, L−, R+, and R− terminals. A large aluminum heatsink is provided for heat dissipation during operation, while the PCB incorporates multiple power components and filtering elements for the amplifier circuit.
With its compact PCB-based design and integrated front control panel, the 2A100 +APP is a practical choice for building or upgrading stereo speaker systems.
Note: The product is marked 100W × 2 on the enclosure. Actual output power depends on the supply voltage, speaker impedance, audio signal, cooling, and operating conditions. The exact RMS output conditions are not specified in the available product information.
Key Features
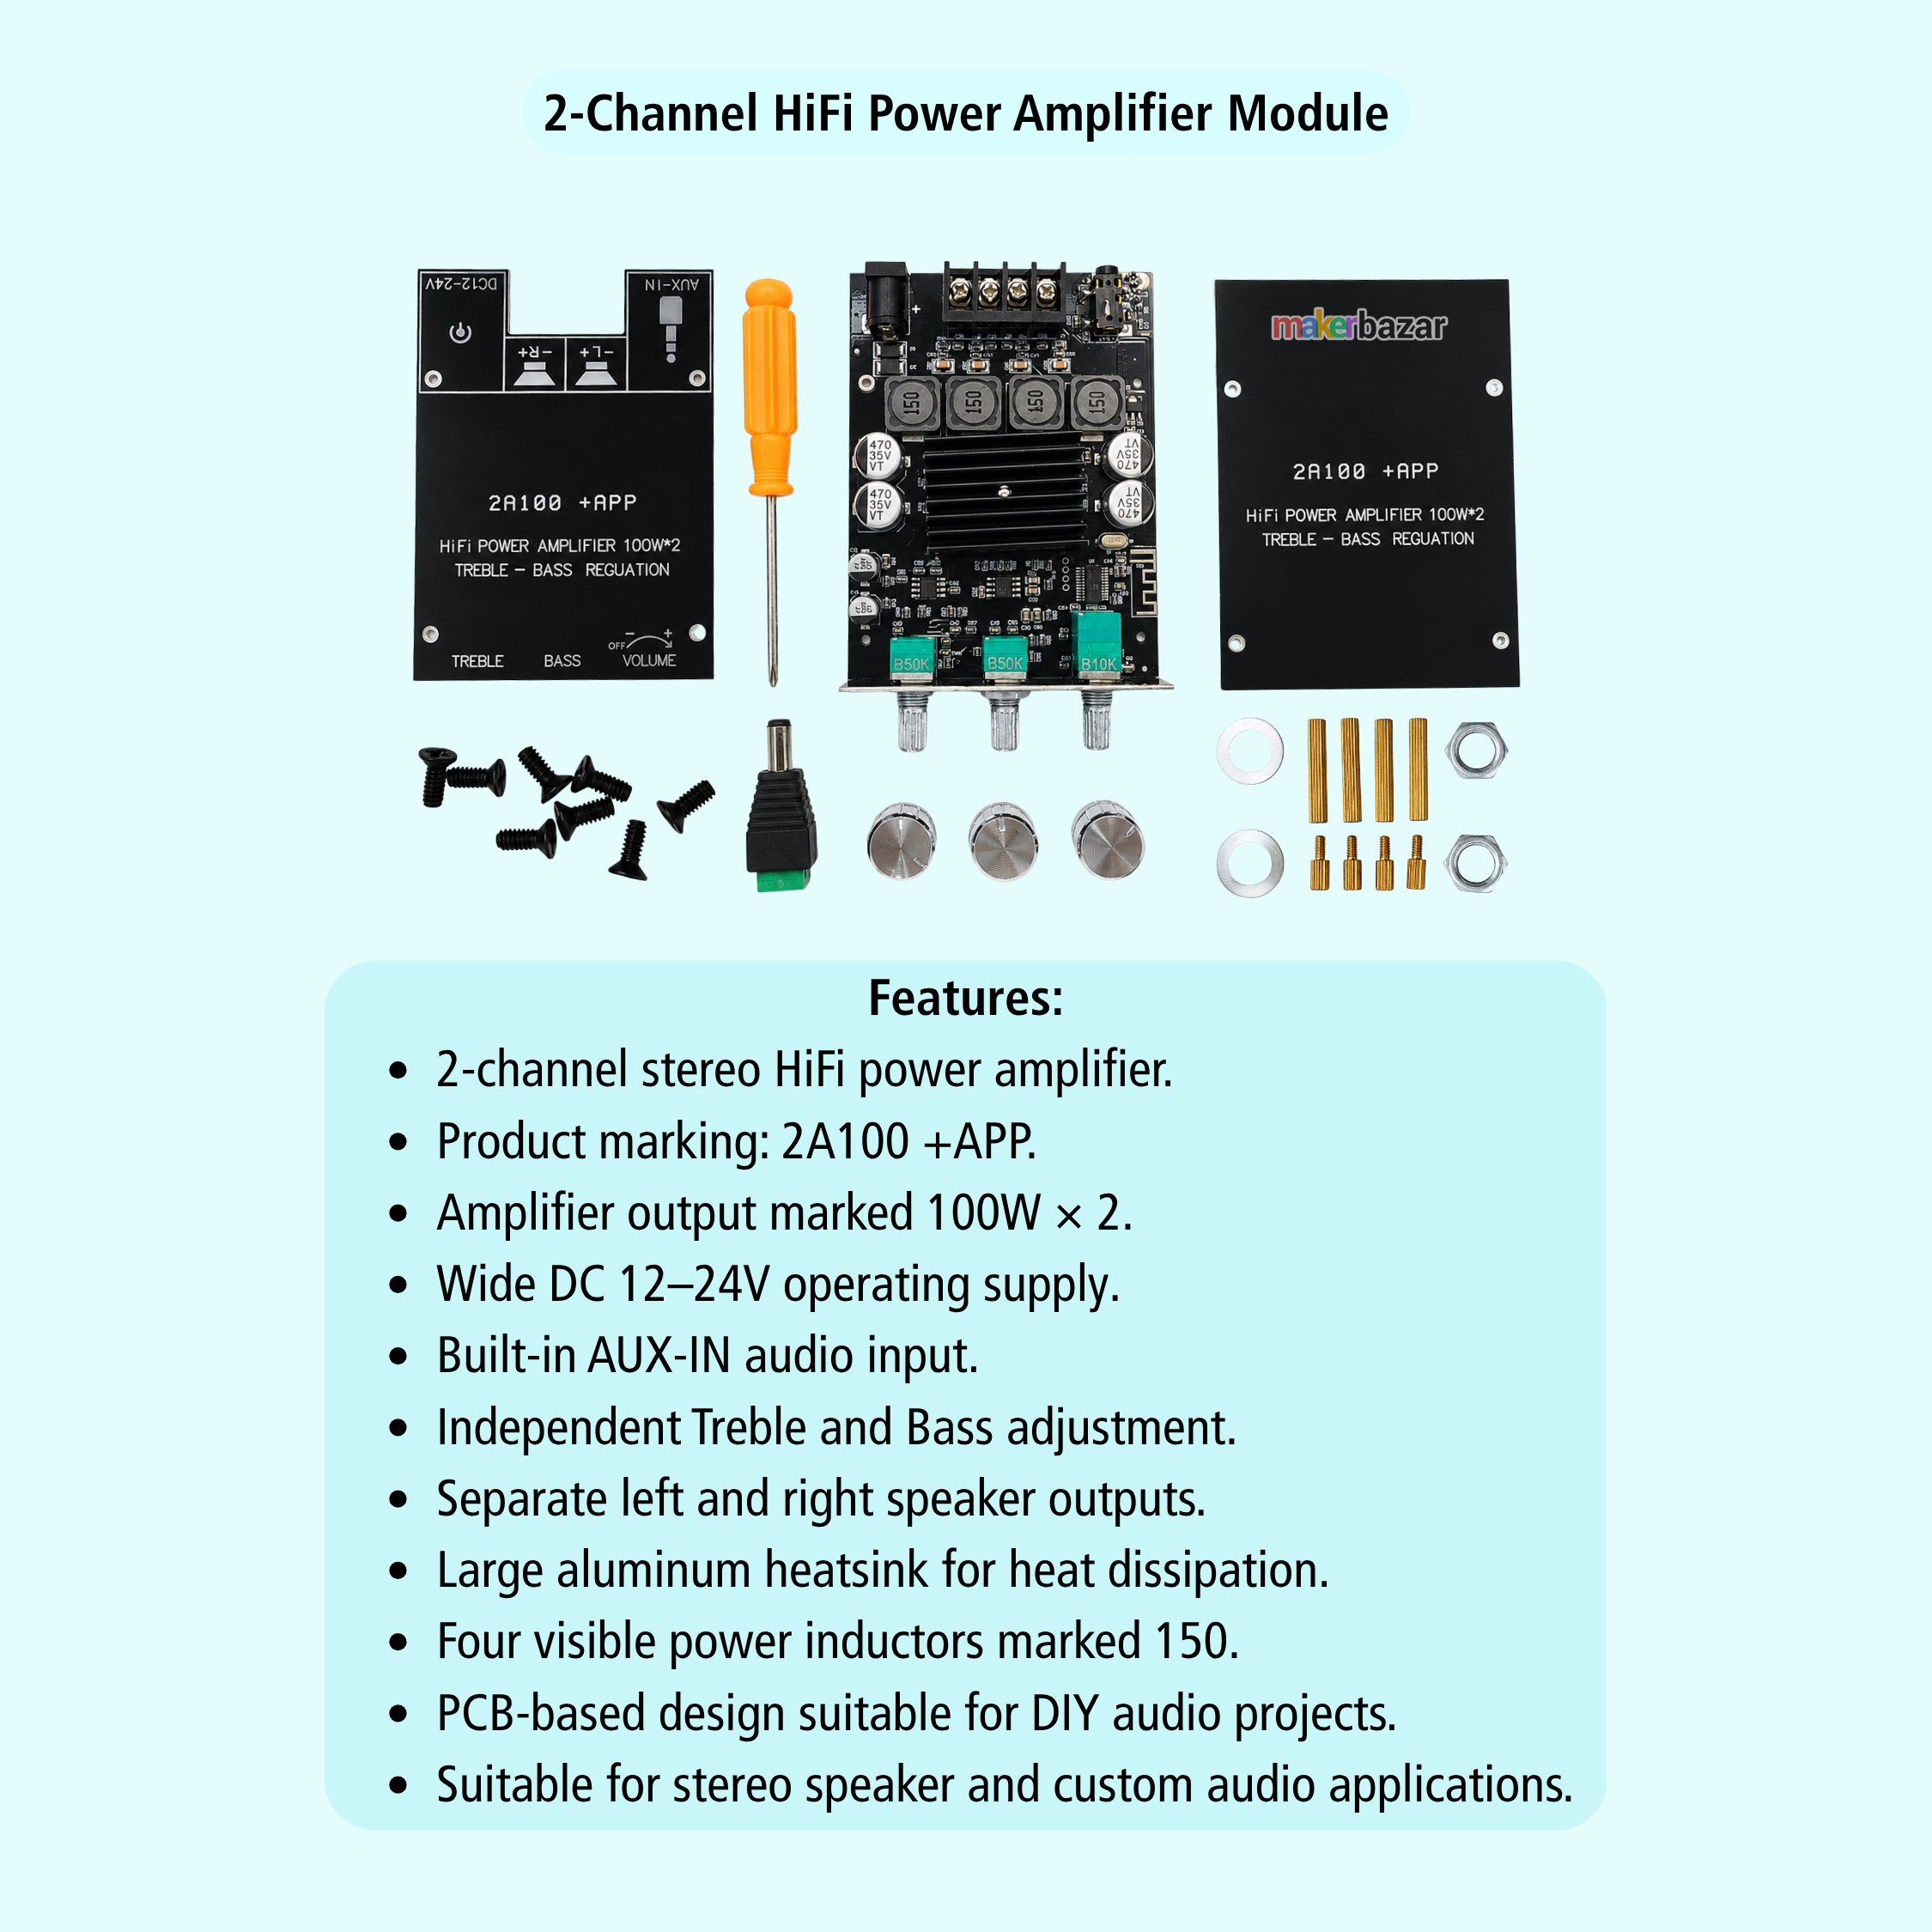
- 2-channel stereo HiFi power amplifier.
- Product marking: 2A100 +APP.
- Amplifier output marked 100W × 2.
- Wide DC 12–24V operating supply.
- Built-in AUX-IN audio input.
- Independent Treble and Bass adjustment.
- Dedicated Volume control.
- Volume knob includes OFF position.
- Separate left and right speaker outputs.
- Clearly marked L+, L−, R+, R− speaker terminals.
- Large aluminum heatsink for heat dissipation.
- Four visible power inductors marked 150.
- Multiple 35V electrolytic capacitors.
- PCB-based design suitable for DIY audio projects.
- Suitable for stereo speaker and custom audio applications.
Technical Specifications
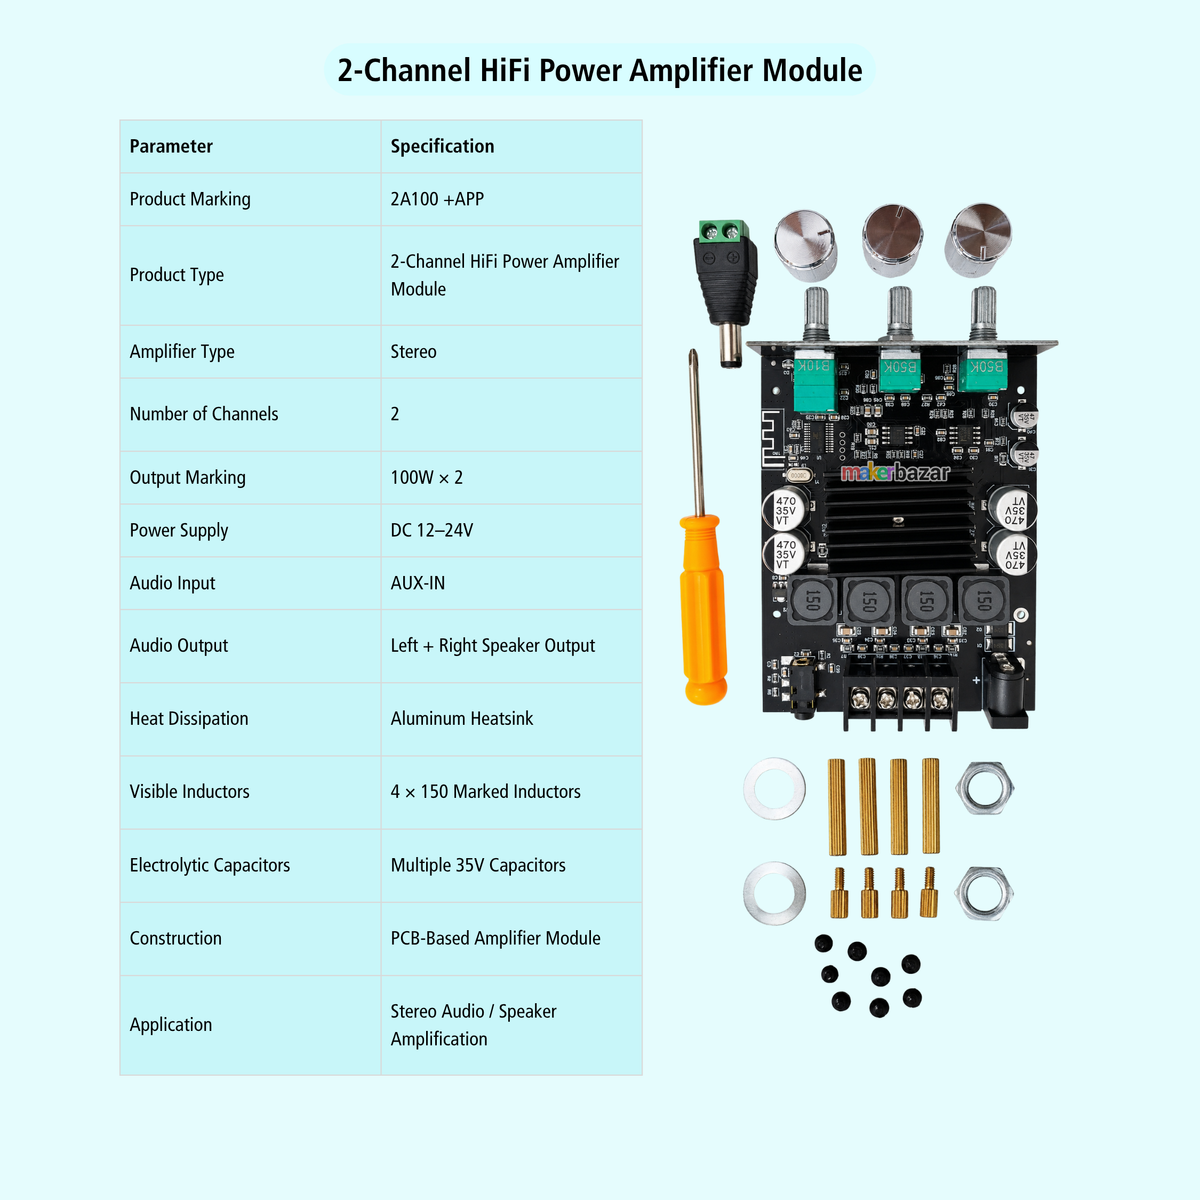
| Parameter | Specification |
|---|---|
| Product Marking | 2A100 +APP |
| Product Type | 2-Channel HiFi Power Amplifier Module |
| Amplifier Type | Stereo |
| Number of Channels | 2 |
| Output Marking | 100W × 2 |
| Power Supply | DC 12–24V |
| Audio Input | AUX-IN |
| Audio Output | Left + Right Speaker Output |
| Speaker Terminals | L+, L−, R+, R− |
| Volume Control | Yes |
| Bass Control | Yes |
| Treble Control | Yes |
| Volume Power Control | OFF Position Included |
| Heat Dissipation | Aluminum Heatsink |
| Visible Inductors | 4 × 150 Marked Inductors |
| Electrolytic Capacitors | Multiple 35V Capacitors |
| Construction | PCB-Based Amplifier Module |
| Application | Stereo Audio / Speaker Amplification |
Power & Speaker Connections
Power Input
- DC 12–24V
Speaker Outputs
- R+ – Right Speaker Positive
- R− – Right Speaker Negative
- L+ – Left Speaker Positive
- L− – Left Speaker Negative
Audio Input
- AUX-IN
Applications
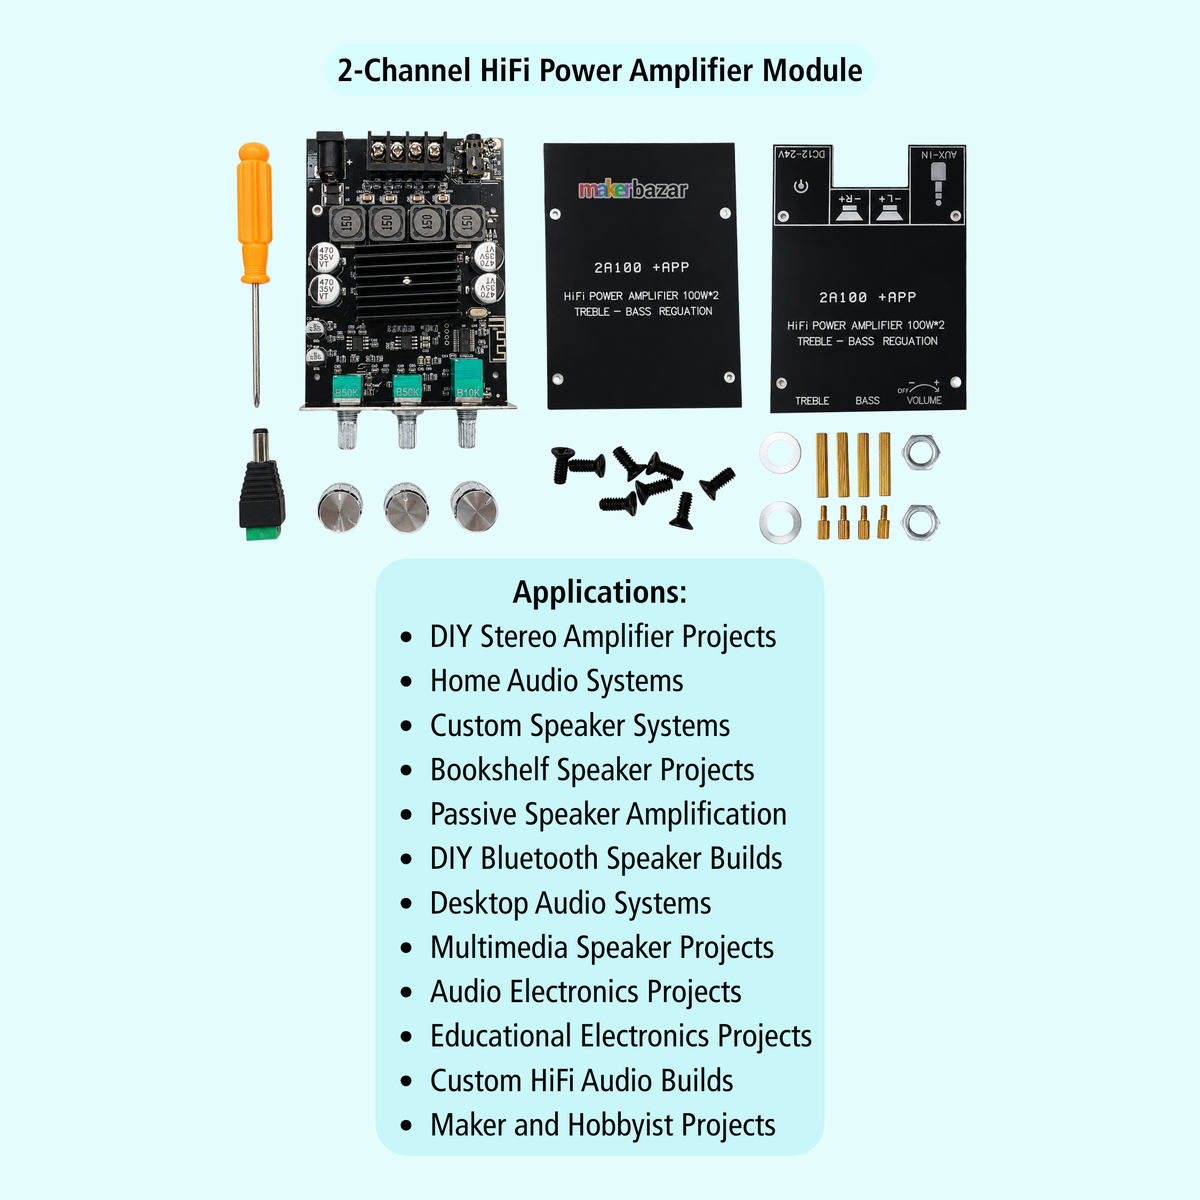
- DIY Stereo Amplifier Projects
- Home Audio Systems
- Custom Speaker Systems
- Bookshelf Speaker Projects
- Passive Speaker Amplification
- DIY Bluetooth Speaker Builds
- Desktop Audio Systems
- Multimedia Speaker Projects
- Audio Electronics Projects
- Speaker Upgrades
- Educational Electronics Projects
- Custom HiFi Audio Builds
- Maker and Hobbyist Projects
Precautions
- Use only a 12–24V DC power supply.
- Check the polarity carefully before connecting the power supply.
- Do not exceed the recommended supply voltage.
- Connect the left and right speakers to the correctly marked terminals.
- Do not short-circuit the speaker output terminals.
- Use speakers with suitable impedance and power ratings for the amplifier.
- Ensure adequate ventilation around the heatsink during high-power operation.
- Do not touch exposed electrical contacts while the amplifier is powered.
- Disconnect the power supply before making wiring changes.
- Avoid operating the module in wet or excessively humid environments.
- Do not assume the marked 100W × 2 rating represents RMS output without confirming the manufacturer's test conditions.
- Start with a low volume level and increase gradually during initial testing.